Ultimate OBS Tutorial for Beginners: A Step-by-Step Guide
Are you new to OBS (Open Broadcaster Software) and want to learn how to use it for live streaming and recording? Look no further! In this comprehensive OBS tutorial for beginners, we'll guide you through the entire process of setting up and using OBS Studio, perfect for creating professional-looking content.
Why Choose OBS Studio?
OBS Studio is a free, powerful tool for live streaming and recording video. It's widely used by gamers, YouTubers, and content creators of all levels. With OBS Studio, you can record your screen, capture games, and stream live to various platforms, including Twitch, YouTube, and more.
Getting Started with OBS Studio
Before we dive into the tutorial, make sure you have the latest version of OBS Studio installed on your computer. You can download it from the official OBS website. Once installed, launch OBS Studio and follow these steps:
- Step 1: Create a new project - Click on the "File" menu and select "New" to create a new project. Choose a location to save your project file and select a theme.
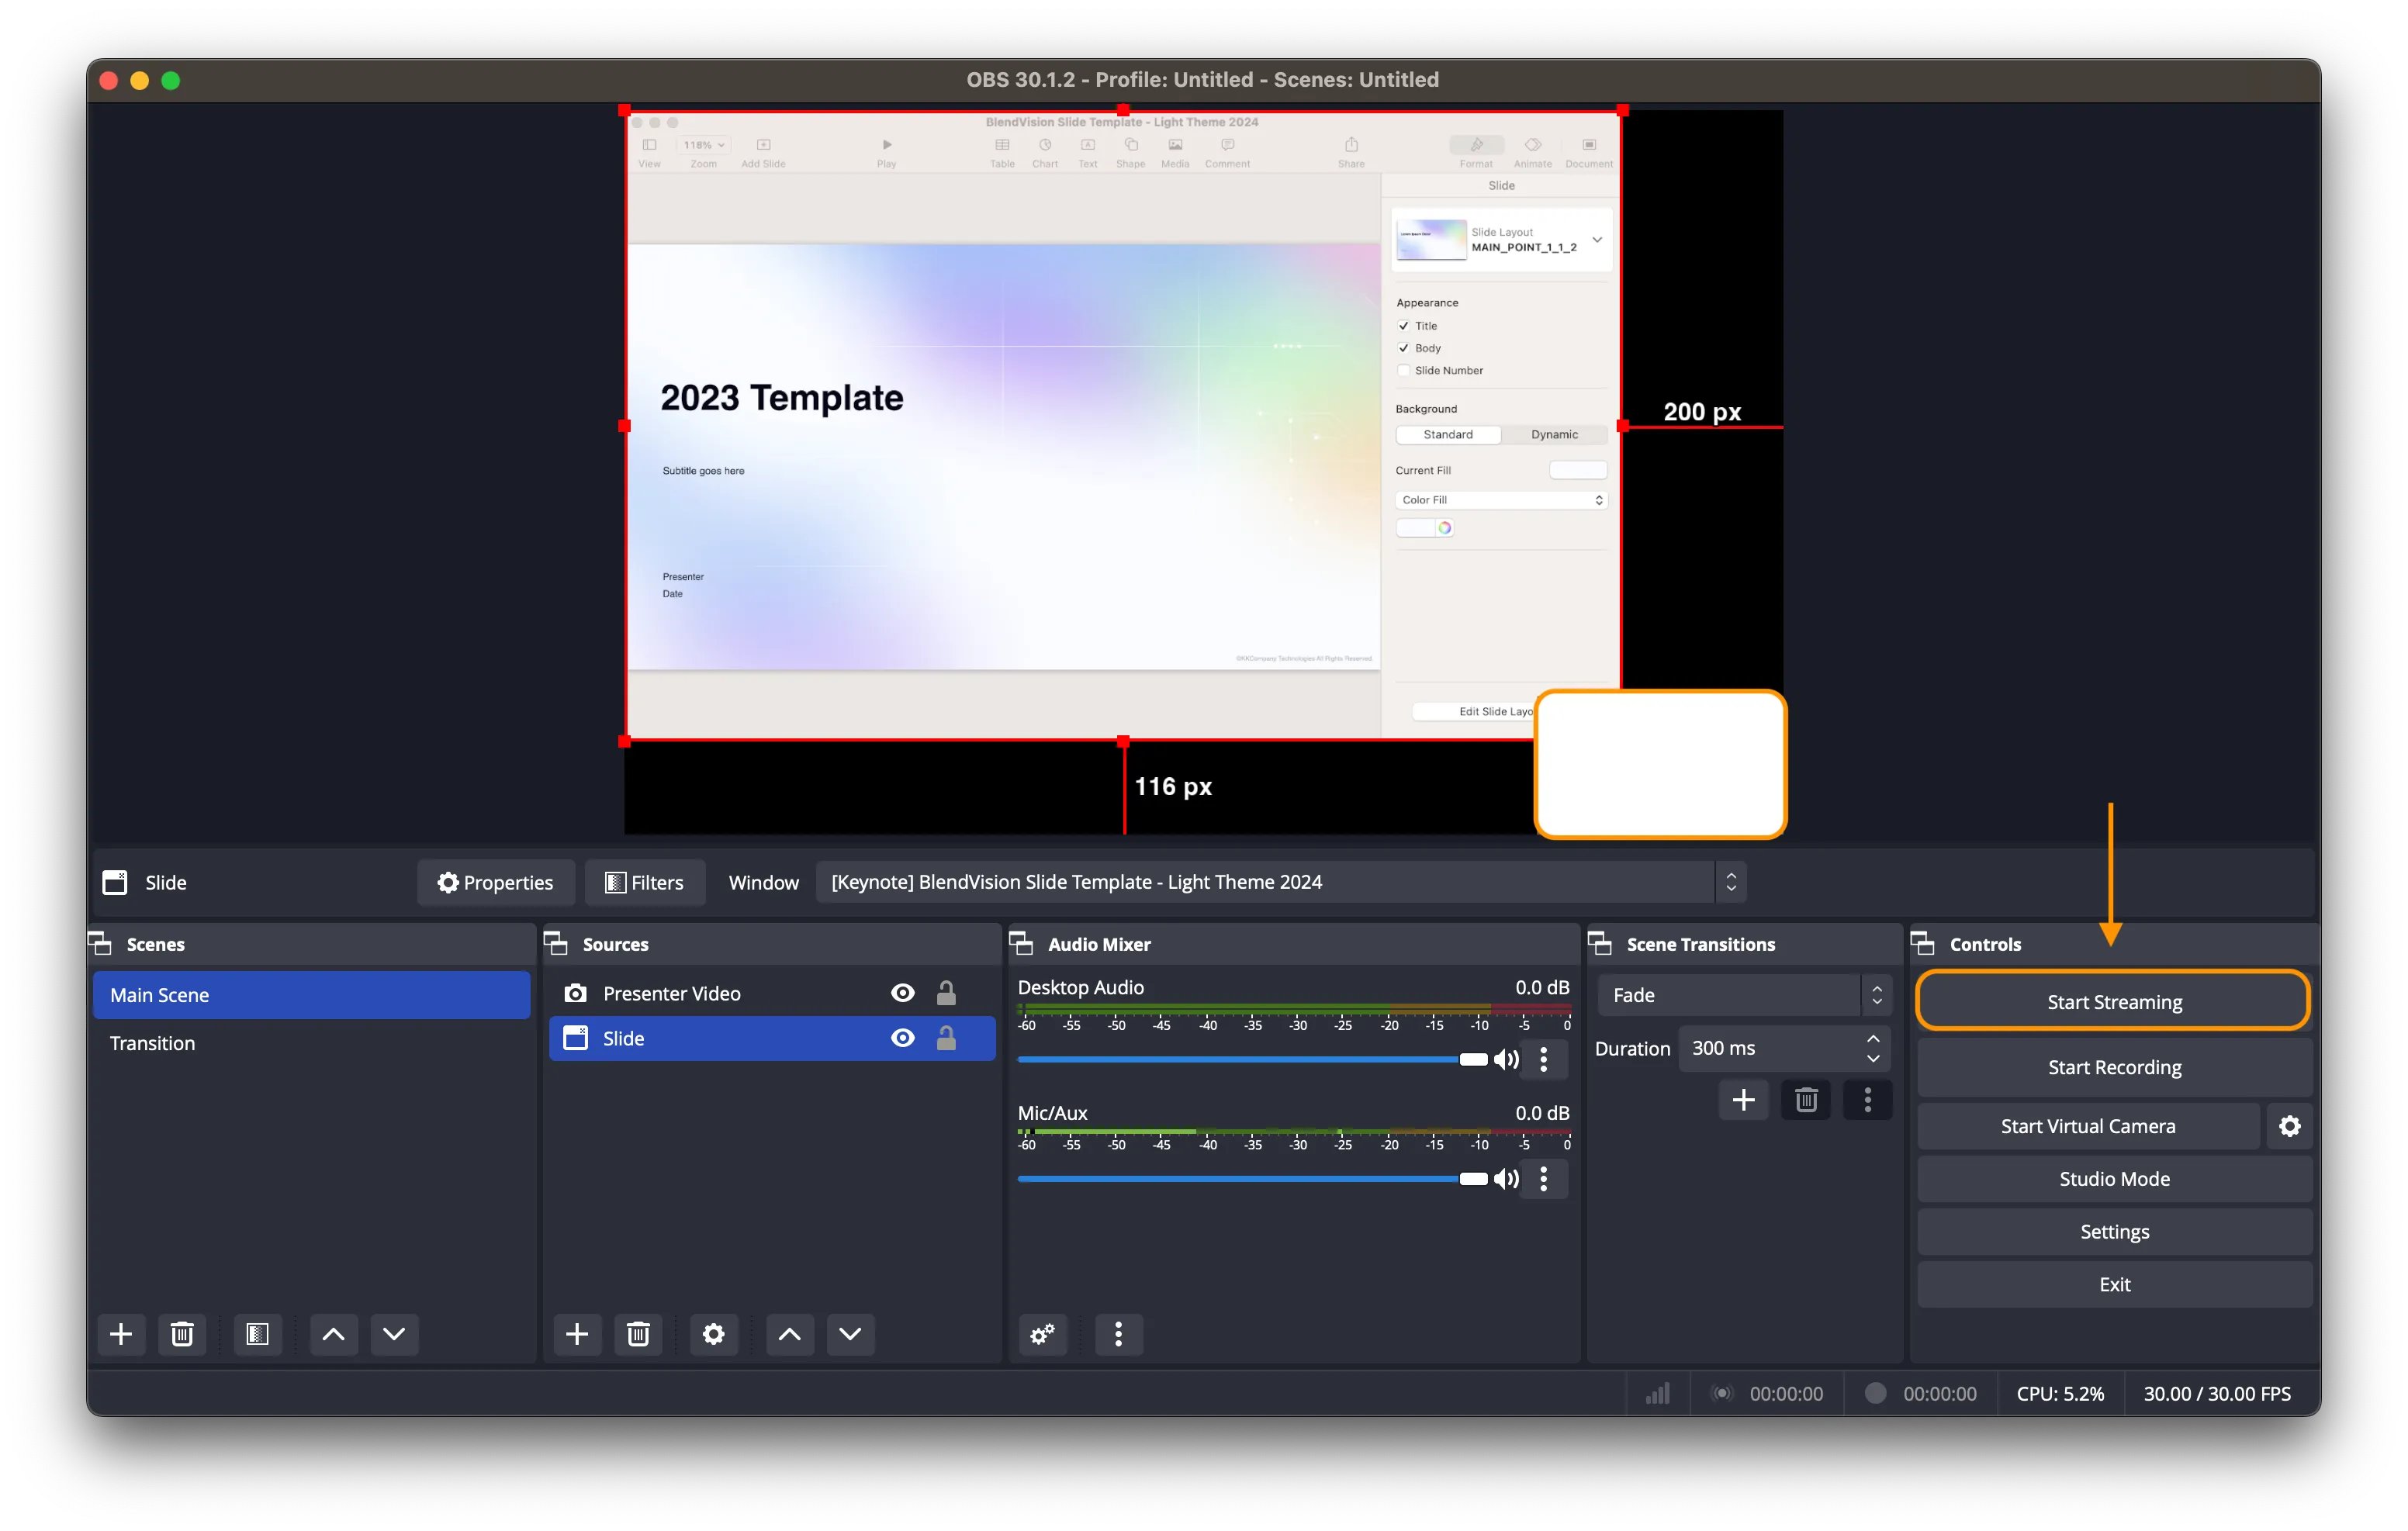
- Step 2: Set up your source - Add a source to your project by clicking on the "+" icon and selecting "Video Capture Device" or "Window Cap". Choose the source you want to capture and adjust the settings accordingly.
- Step 3: Add a scene - Create a new scene by clicking on the "+" icon and selecting "Scene". Name your scene and add it to your project.
- Step 4: Customize your scene - Arrange your sources, adjust the layouts, and add any necessary effects or transitions to your scene.
Setting Up Audio
Audio is just as important as video when it comes to live streaming and recording. Here's how to set up audio in OBS Studio:
- Step 1: Add an audio device - Go to the "Settings" menu and select "Audio" to add an audio device to your project.
- Step 2: Choose your audio settings - Select the audio settings that match your needs, including the input, output, and sample rate.
- Step 3: Adjust your audio levels - Adjust the audio levels to ensure they're not too high or too low.
Stream Setup
Now that you've set up your video and audio, let's move on to setting up your stream:
- Step 1: Select a streaming service - Choose the platform you want to stream to, such as Twitch or YouTube.
- Step 2: Set up your stream settings - Configure your stream settings, including the quality, bitrate, and resolution.
- Step 3: Test your stream - Test your stream to ensure everything is working correctly.

Recording and Saving
Once you're happy with your stream settings, it's time to record and save your content:
- Step 1: Start recording - Click on the "Start Recording" button to begin recording your stream.
- Step 2: Save your recording - Save your recording to a location of your choice.
Conclusion
Congratulations! You've completed the ultimate OBS tutorial for beginners. With these step-by-step instructions, you should now be able to create professional-looking content using OBS Studio. Remember to experiment with different settings and features to find what works best for you.
Happy streaming and recording!
Additional Resources:
For more tutorials and guides on OBS Studio, check out these additional resources:
- OBS Knowledge Base - A comprehensive guide to getting started with OBS Studio.
- Streamlabs Tutorials - A collection of tutorials and guides on using Streamlabs with OBS Studio.
- StreamYard Support - A resource for learning how to use StreamYard with OBS Studio.
Final Thoughts:
In this ultimate OBS tutorial for beginners, we've covered the basics of setting up and using OBS Studio. Remember to practice and experiment with different settings and features to find what works best for you. Happy streaming and recording!

 | Primal Video")


")

")
![[ STEP BY STEP] OBS STUDIO - Complete Setup 2026 - YouTube](https://i.ytimg.com/vi/Q_eV3KLSvzg/maxresdefault.jpg "[ STEP BY STEP] OBS STUDIO - Complete Setup 2026 - YouTube")

")


