How to Set Up an Android Phone: A Comprehensive Guide
Getting your new Android phone up and running can be an exciting experience, but it can also be overwhelming for those who are new to the platform. In this article, we will provide you with a step-by-step guide on how to set up your Android phone, from unboxing to customizing your device.
Step 1: Unboxing and Basic Setup
When you first open the box of your new Android phone, you will find the device, a charger, a USB cable, and other accessories. The first step is to unbox the device and charge it for at least 30 minutes. This will ensure that your phone is fully powered up and ready for initial setup.
Once your phone is charged, you need to insert the SIM card and SD card (if provided) into the appropriate slots. Make sure to insert the SIM card correctly to avoid damaging the card or the phone.
Step 2: Activate Your Phone
The next step is to activate your phone. This may involve a visit to a physical store, where a representative can help you complete the activation process. Alternatively, you can also activate your phone via the phone's settings menu. Go to Settings > Wireless & networks > More > Mobile network > Network mode, and select the network that you want to activate your phone on.
Step 3: Set Up Language and System Settings
After activation, you need to set up the language and system settings on your phone. Go to Settings > System > Language and input, and select your preferred language and keyboard settings. Next, go to Settings > System > System update, and check for any available software updates. This will ensure that your phone is running the latest version of the Android operating system.
Step 4: Set Up Wi-Fi and Bluetooth
Now that you have set up your phone, you need to connect to a Wi-Fi network and pair your phone with other devices via Bluetooth. Go to Settings > Wireless & networks > Wi-Fi, and select the network that you want to connect to. Enter your Wi-Fi password, and click on Connect.
Next, go to Settings > Wireless & networks > More > Bluetooth, and turn on Bluetooth. Your phone will search for nearby devices, and you can select the device that you want to pair with your phone.
Step 5: Set Up Security and Account Settings
Security and account settings are crucial to ensure that your phone and personal data are safe and secure. Go to Settings > Users, and create a new user account or add an existing one. Enter a strong password and PIN, and set up your fingerprint or face recognition (if available).
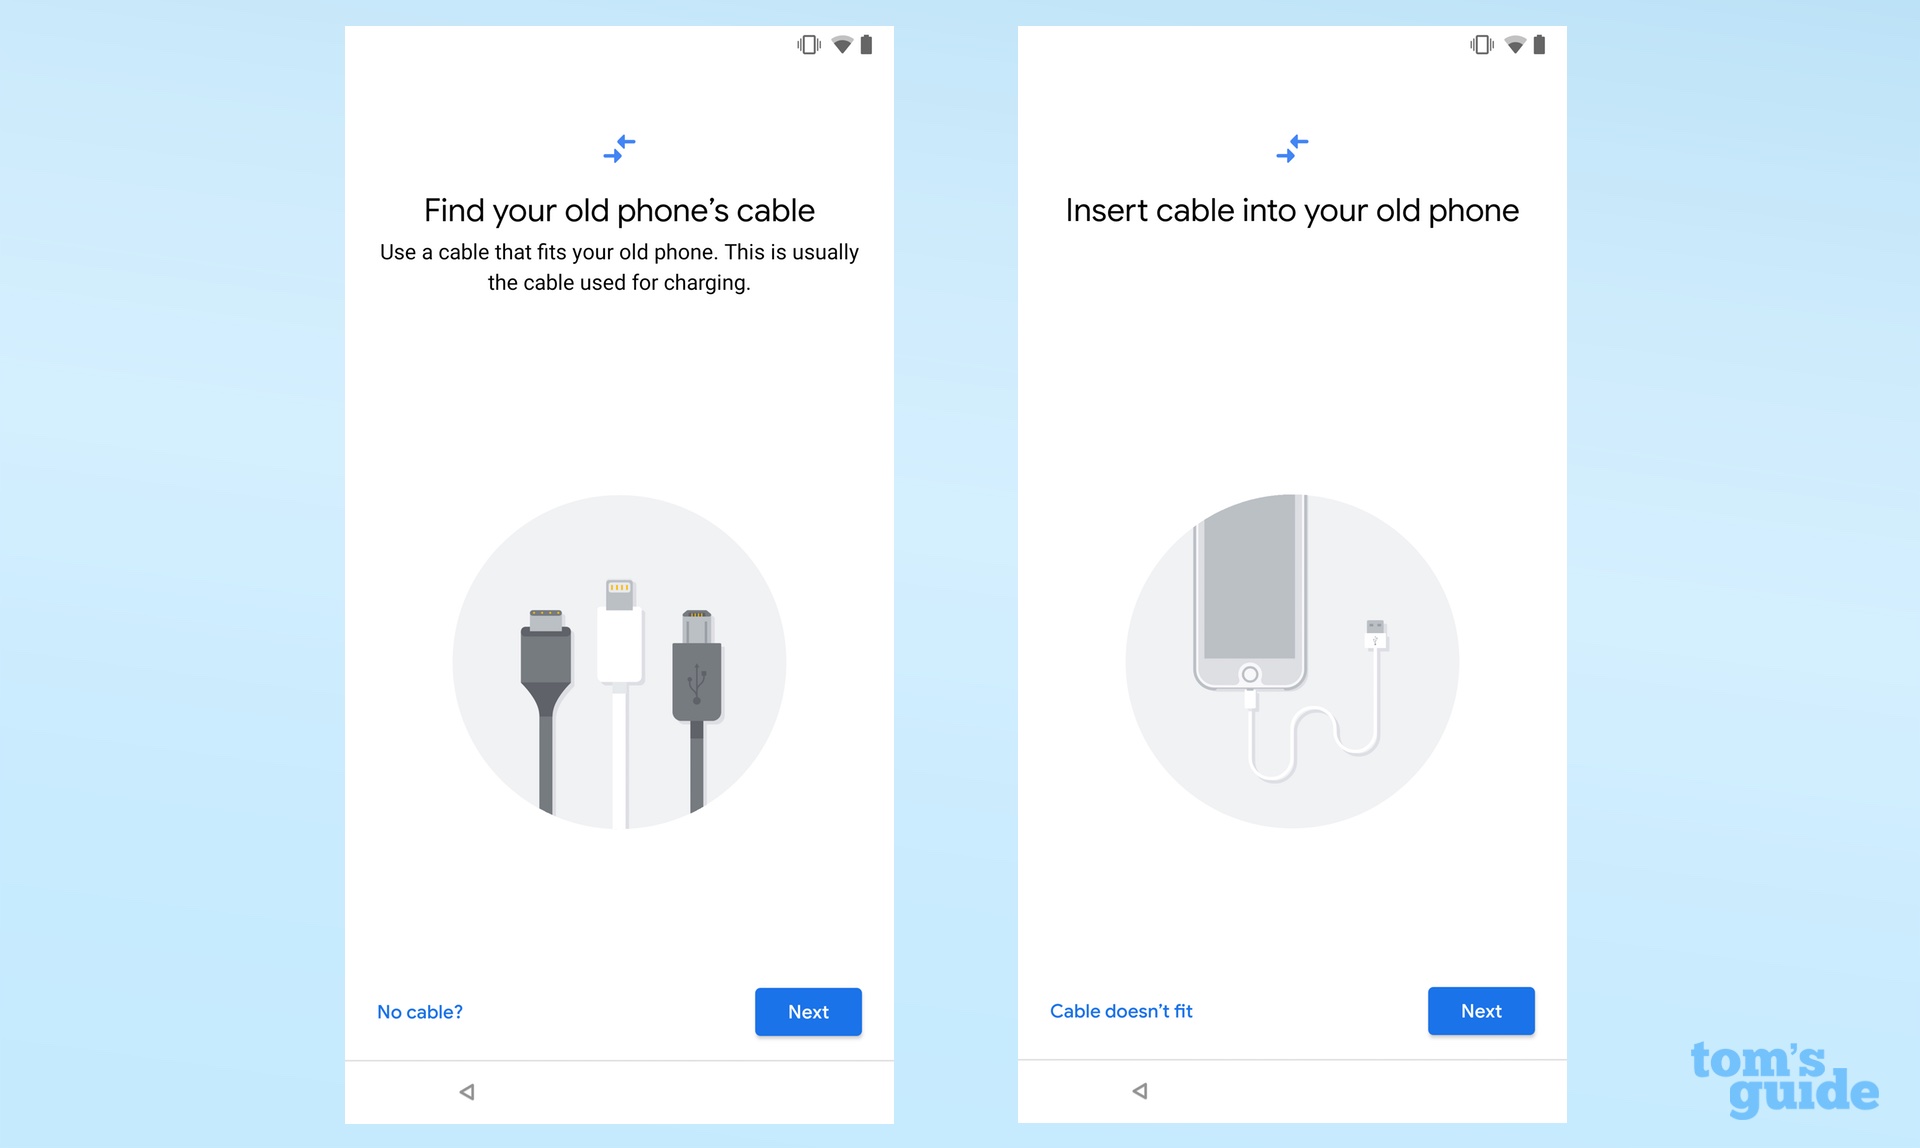
Step 6: Transfer Data from Old Phone
If you are upgrading from an old phone, you can transfer your data to your new Android phone using the Google Find My Device service or the Samsung Smart Switch app. This will transfer your contacts, messages, photos, and other data to your new phone, making the transition smoother and easier.
Step 7: Customize Your Phone
Finally, customize your phone to suit your preferences. Go to Settings > Display, and adjust the brightness, screen mode, and font size to your liking. You can also set up custom ringtone, wallpaper, and notification settings.
FAQs and Troubleshooting
Here are some frequently asked questions and troubleshooting tips to help you set up your Android phone:
- What if I forget my password or PIN?
- How do I transfer data from my old phone?
- Why can't I connect to a Wi-Fi network?
Don't worry! Go to Settings > Users, and select the "Forgot password" or "Forgot PIN" option to reset your password or PIN.
Use the Google Find My Device service or the Samsung Smart Switch app to transfer your data.
Check your Wi-Fi settings and make sure that you have entered the correct password. If you are still having issues, restart your phone and try connecting again.


")


