Samsung Galaxy S7 Screen Replacement: A Comprehensive Guide
If you're a Samsung Galaxy S7 user, you're likely familiar with the frustration of dealing with a cracked or faulty screen. Fortunately, replacing the screen is a relatively straightforward process that can be done at home with the right tools and instructions. In this article, we'll guide you through the process of replacing the screen on your Samsung Galaxy S7, covering the essential elements you need to understand, the tools and materials required, and the steps involved in the replacement process.
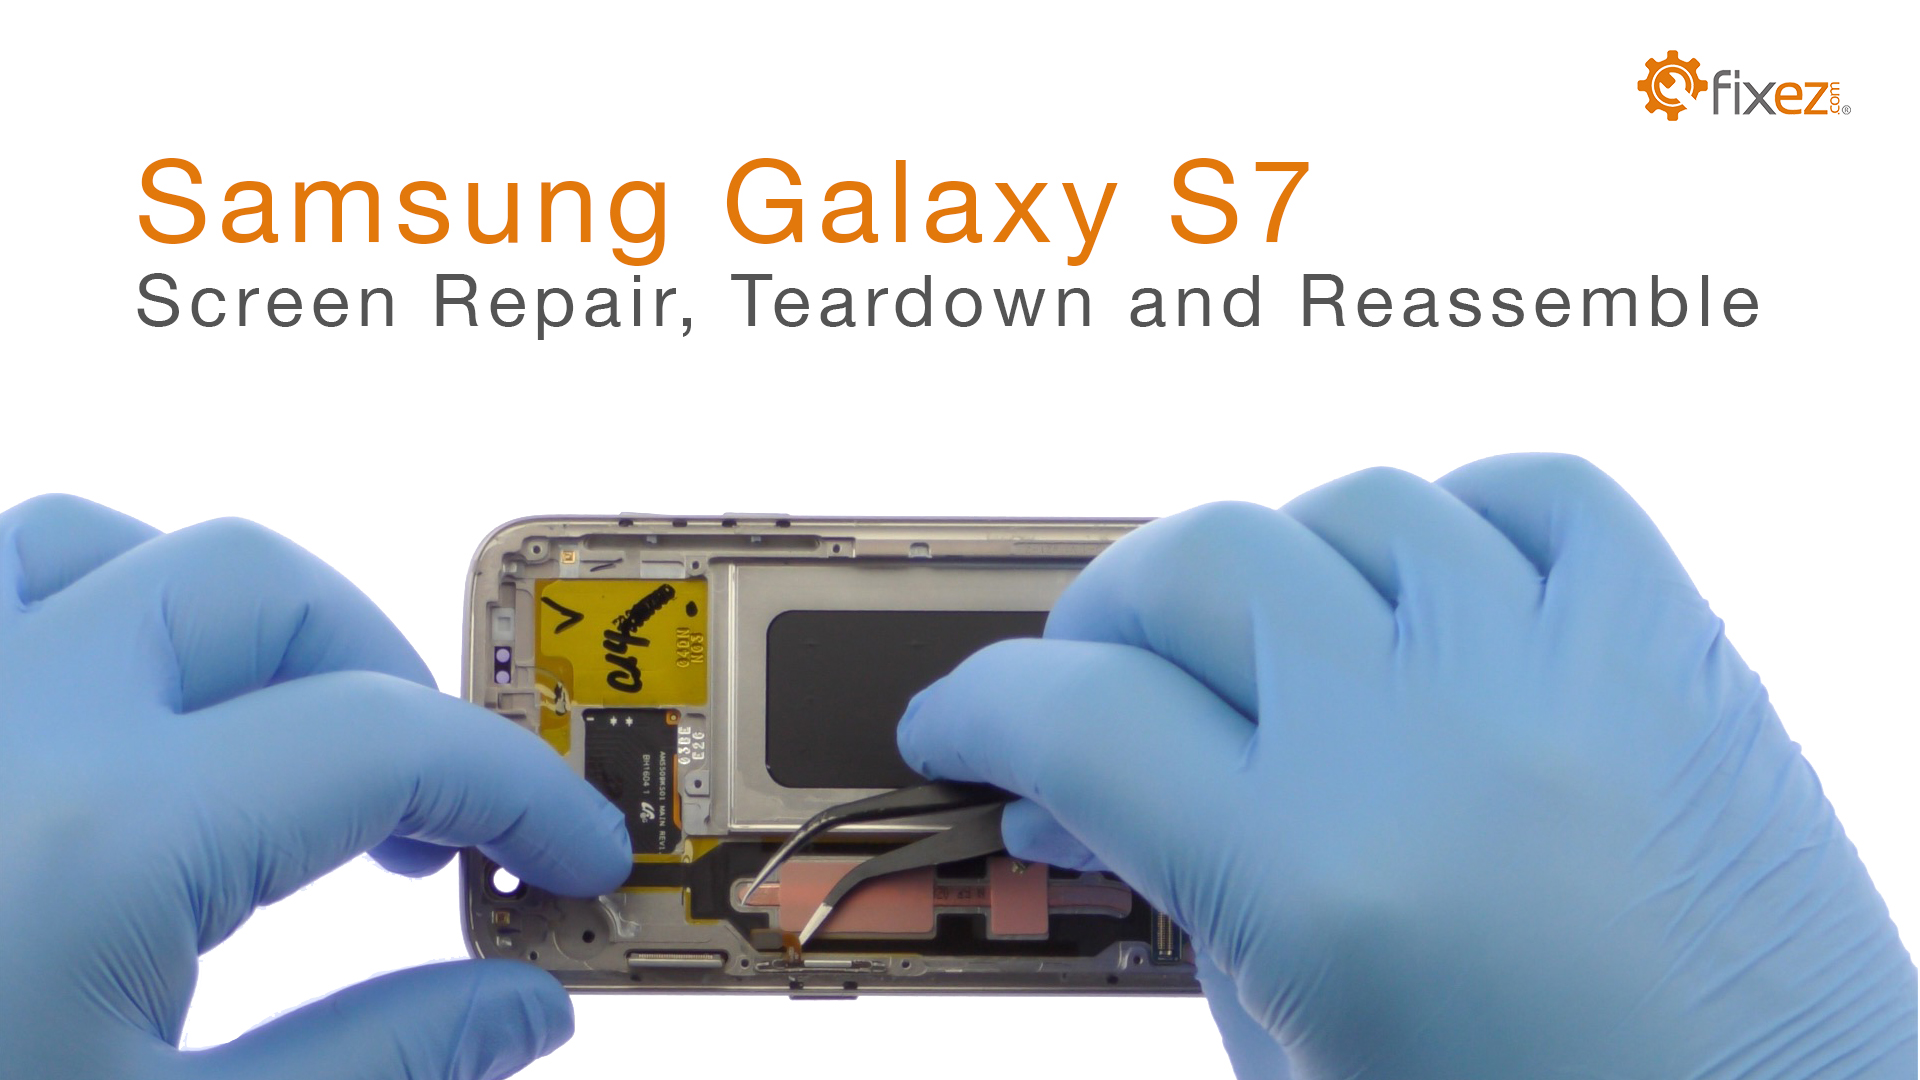
Understanding the Samsung S7 Screen Replacement Process
Replacing a smartphone screen might seem daunting, but with proper preparation and the right tools, it can be a straightforward task. The Samsung Galaxy S7 features a delicate yet beautifully crafted screen that requires careful handling during replacement. Below are the essential elements you need to understand before you embark on this process:
- The screen is made up of several layers, including the touch digitizer, LCD display, and glass cover.
- The screen is held in place by a thin layer of adhesive and a series of tiny screws.
- The screen replacement process involves removing the old screen, cleaning the area, and installing the new screen.
Tools and Materials Required
To replace the screen on your Samsung Galaxy S7, you'll need the following tools and materials:
- A replacement screen that matches the original resolution of 2560 x 1440 pixels.
- A screen removal tool or a credit card to pry the screen away from the phone's frame.
- A can of compressed air to clean out any debris from the screen's edges.
- A small screwdriver to remove the screws holding the screen in place.
- A pair of tweezers to handle the tiny screws and other small components.
Step-by-Step Instructions for Samsung Galaxy S7 Screen Replacement
Here's a step-by-step guide to replacing the screen on your Samsung Galaxy S7:
- Remove the SIM card tray and any other external components.
- Use a screen removal tool or a credit card to pry the screen away from the phone's frame.
- Remove the screws holding the screen in place and carefully lift the screen off the phone's frame.
- Clean the area where the new screen will be installed using compressed air.
- Apply a thin layer of adhesive to the new screen and install it on the phone's frame.
- Reattach the screws and make sure the screen is securely in place.
Conclusion
Replacing the screen on your Samsung Galaxy S7 is a relatively straightforward process that can be done at home with the right tools and instructions. By following the steps outlined in this guide, you'll be able to replace the screen and have your phone up and running in no time. Remember to always handle the screen with care and to use a replacement screen that matches the original resolution to ensure optimal performance.
Additional Resources
For additional resources and information on Samsung Galaxy S7 screen replacement, check out the following:
- Samsung Galaxy S7 repair guide on YouTube.
- Samsung Galaxy S7 screen replacement kits on Amazon.
- Samsung Galaxy S7 repair services in your local area.


 - citrimobile.com")


 Replacement for Samsung Galaxy Tab S7, Tab ...")


