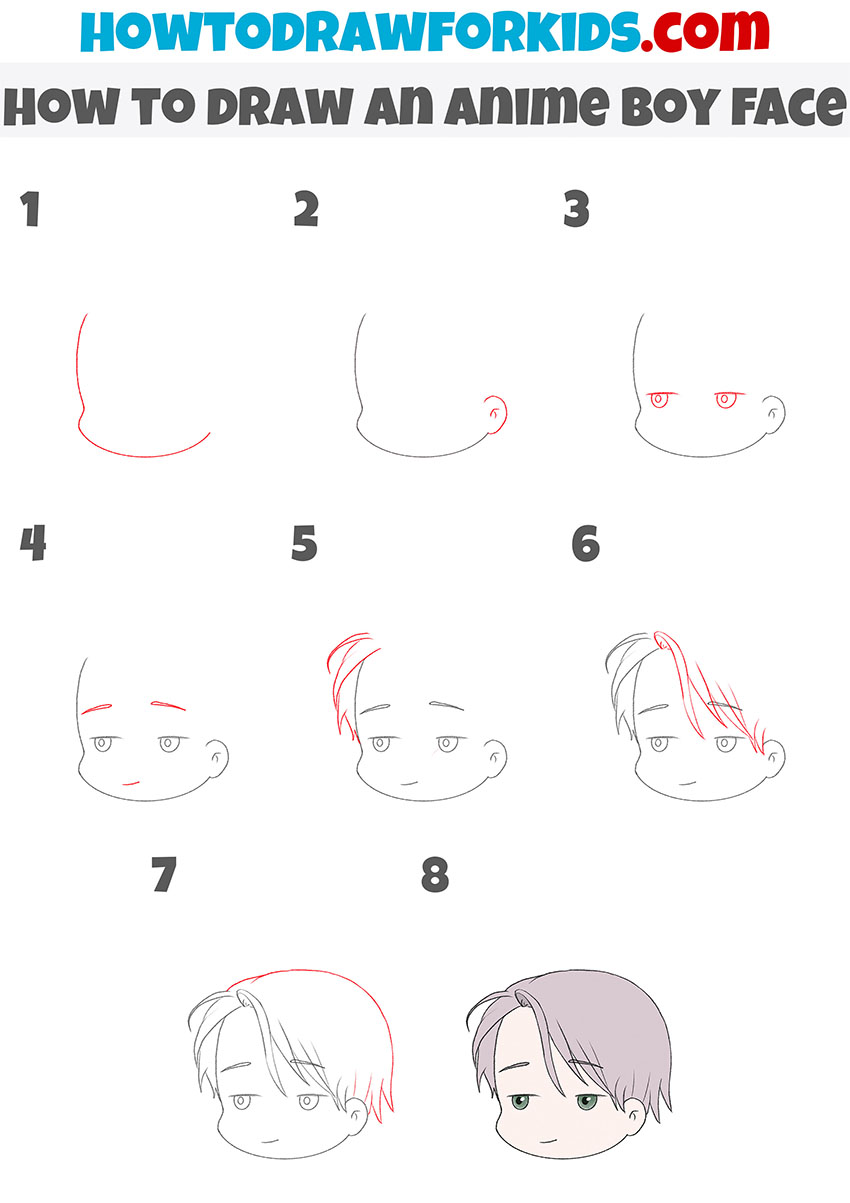
How to Draw Anime: A Comprehensive Guide for Beginners
Are you interested in learning how to draw anime? With the rise of anime and manga in popular culture, drawing anime characters has become a sought-after skill for many enthusiasts. However, for beginners, it can seem like a daunting task, especially when looking at the intricate details and elaborate drawings of professional artists. In this article, we'll break down the fundamentals of drawing anime and provide you with a step-by-step guide to get you started.Understanding the Basics
Before diving into the drawing process, it's essential to understand the basics of anime drawing. Anime is a style of Japanese animation that is characterized by its unique visual traits, such as large eyes, colorful hairstyles, and dynamic poses. To create an anime character, you'll need to understand these characteristics and incorporate them into your drawing.Basic Shapes
The foundation of drawing anime characters is based on basic shapes. Start with simple shapes like circles, ovals, squares, and rectangles. These shapes will help you create the overall structure of your character's head, body, and limbs. Practice drawing these shapes to get a feel for the proportions and anatomy of your character.Step 1: Create the Basic Head Shape
Draw a circle for the head, making sure it's slightly tilted to the side.
From the top of the circle, draw a smaller oval for the face, aiming for the edges to touch the circle.
Draw a smaller oval for the nose and mouth, making sure they're centered within the face oval.
Facial Features
Facial features are a crucial aspect of anime drawing. To create expressive and attractive facial features, follow these steps:Step 2: Add the Eyes
Draw two almond-shaped eyes, tilted slightly upwards at the outer corners.
Make sure the eyes are proportionate to the head and face shape.
Add details such as eyelashes and eyebrows to enhance the eyes' expression.
Step 3: Define the Mouth and Nose
Draw a small oval for the mouth, making sure it's curved and expressive.
Add a small dot for the nose, making sure it's centered within the face oval.
Body and Proportions
Step 4: Create the Body
Draw a rectangle for the torso, making sure it's proportional to the head.
Add arms and legs, using simple shapes to create the joints and details.
Step 5: Add Clothing and Accessories
Draw clothing and accessories such as hair, jackets, and hats to add personality to your character.
Don't forget to add shoes and other details to complete the outfit.
Shading and Textures
Once you've completed the basic shape and facial features, add shading and textures to bring your character to life:Step 6: Add Shading
Use varying degrees of shading to create depth and dimension.
Start with light shading on the edges of the face and body, gradually increasing the shading to create depth.
Step 7: Add Textures
Use different textures to create a visually appealing effect.
Experiment with different materials and effects, such as fabrics, patterns, and shadows.


 - wikiHow")


