Tablet Repair Instructions: A Comprehensive Guide
Tablets have become an essential part of our daily lives, and with their frequent use, they are prone to damages and wear and tear. A cracked or damaged tablet can be frustrating, but don't worry, we have got you covered with our comprehensive guide on tablet repair instructions. In this article, we will walk you through the common issues that your tablet may face, the repair process, and the tools you need to fix it yourself.
Common Issues with Tablets
Tablets are prone to several issues, including cracked screens, battery drain, water damage, and connectivity problems. The most common issues are cracked screens, which can happen due to accidental drops or pressure on the screen. However, with the right tools and knowledge, you can fix your tablet's cracked screen at home.
Tools and Materials Needed
Before starting the repair process, you will need to gather the necessary tools and materials. The tools you need will vary depending on the issue you are trying to fix. Here are some of the common tools you will need:
- Torx screwdriver
- Phillips screwdriver
- Prying tools (such as a plastic spudger or a metal spudger)
- Screen replacement kit
- Battery replacement kit (if needed)
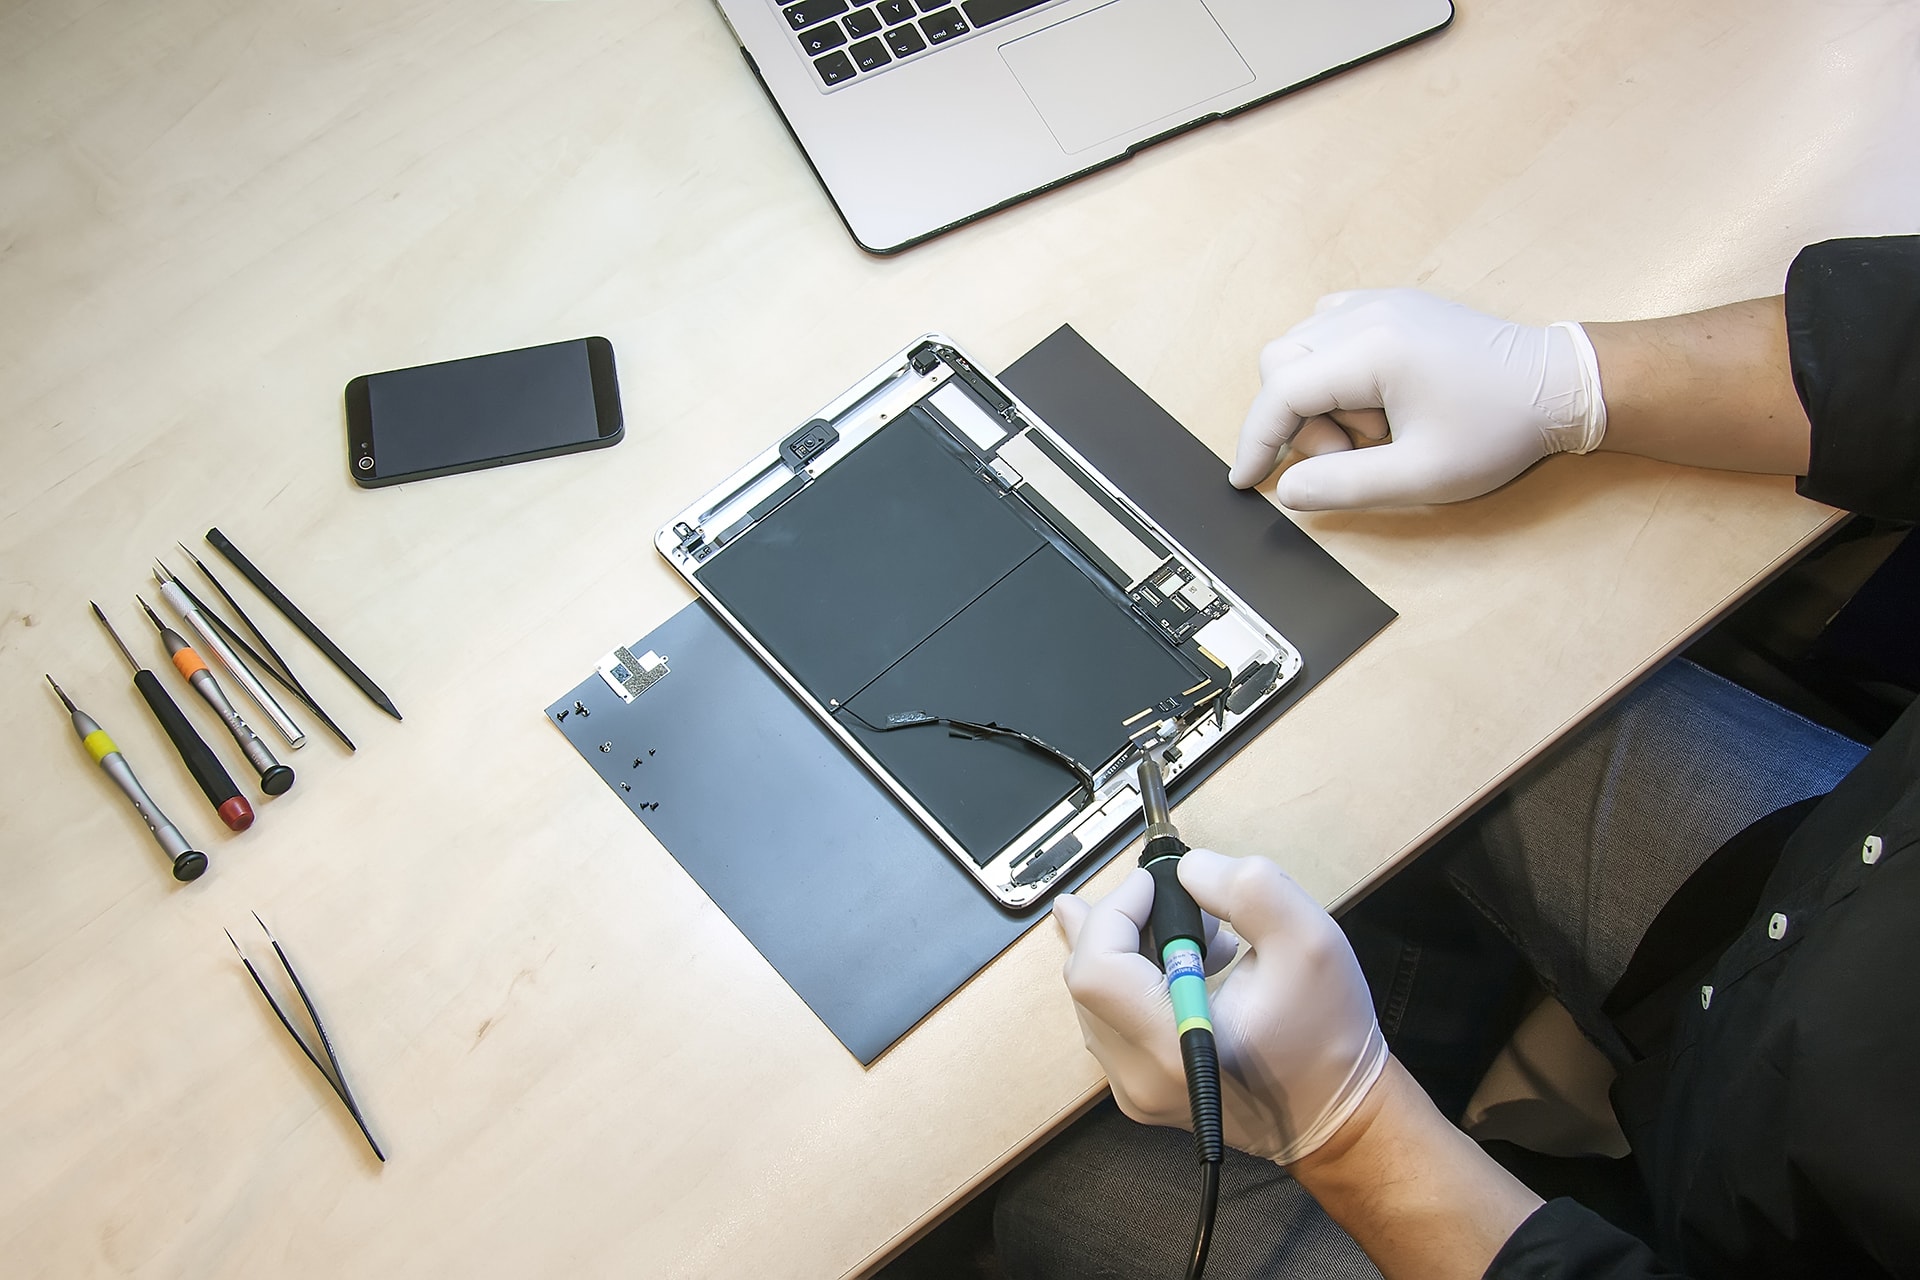
Step-by-Step Repair Instructions
Now that you have the necessary tools and materials, it's time to start the repair process. Here's a step-by-step guide to help you fix your tablet's cracked screen:
Disassembling the Device
Begin by removing the tablet's outer casing by using a Torx screwdriver to remove the screws. Be careful not to strip the screws. Once the casing is removed, you will see the internal components, including the screen, battery, and other electronics.
Removing the Screen
Use a prying tool to carefully remove the screen from the device. You may need to apply pressure in certain areas to release the screen from its adhesive. Be careful not to damage the screen or the device's internal components.
Replacing the Screen
Once the old screen is removed, it's time to install the new screen. Use a screen replacement kit to attach the new screen to the device's internal frame. Make sure the screen is securely attached and not loose in any area.
Reassembling the Device
Once the new screen is installed, it's time to reassemble the device. Use the Torx screwdriver to reattach the outer casing. Make sure all the screws are securely tightened to prevent any damage or loose parts.
Troubleshooting Tips
After completing the repair process, your tablet may need some troubleshooting to ensure it's working properly. Here are some common issues you may encounter:
- Screen not responding to touch
- Device not turning on or off
- Connectivity issues (such as Wi-Fi or Bluetooth not working)
Conclusion
Tablet repair instructions can be a complex and time-consuming process, but with the right tools and knowledge, you can fix your tablet's cracked screen at home. Remember to be patient and take your time to avoid damaging the device or its internal components. If you're not comfortable with DIY repairs, consider visiting a professional repair service to fix your tablet.
Precautions
Before starting the repair process, make sure to read the full set of precautions in this document to avoid any damage or injury. Opening and/or repairing your device can present electric shock, device damage, fire, and personal injury risks, and other hazards.
Additional Resources
For additional resources and support, consider visiting online forums or repair communities, such as iFixit, to connect with other repair enthusiasts and learn from their experiences. You can also find free step-by-step repair instructions, manuals, schematics, community support, and other DIY resources to help you with your tablet repair needs.


