Setting Up Webcam on Windows 11 Desktop: A Step-by-Step Guide
Are you having trouble setting up your webcam on your Windows 11 desktop? Do you want to know how to configure your camera settings to ensure seamless access for all your video calls and apps? In this article, we'll guide you through the process of setting up your webcam on Windows 11 desktop, including adjusting brightness, contrast, HDR, and other controls, as well as managing privacy and camera access permissions for each application.
Why You Need to Set Up Your Webcam on Windows 11 Desktop
Enabling your camera on Windows 11 desktop is essential for video calls, online meetings, and creating content. Without proper camera settings, you may experience issues such as poor video quality, incorrect camera settings, or even camera malfunction. By setting up your webcam, you can ensure that you're always ready for your next virtual connection.
How to Set Up Webcam on Windows 11 Desktop
Follow these easy steps to set up your webcam on Windows 11 desktop:
- Step 1: Ensure Your Camera is Connected - Plug in your external webcam or ensure that your built-in webcam is working properly.
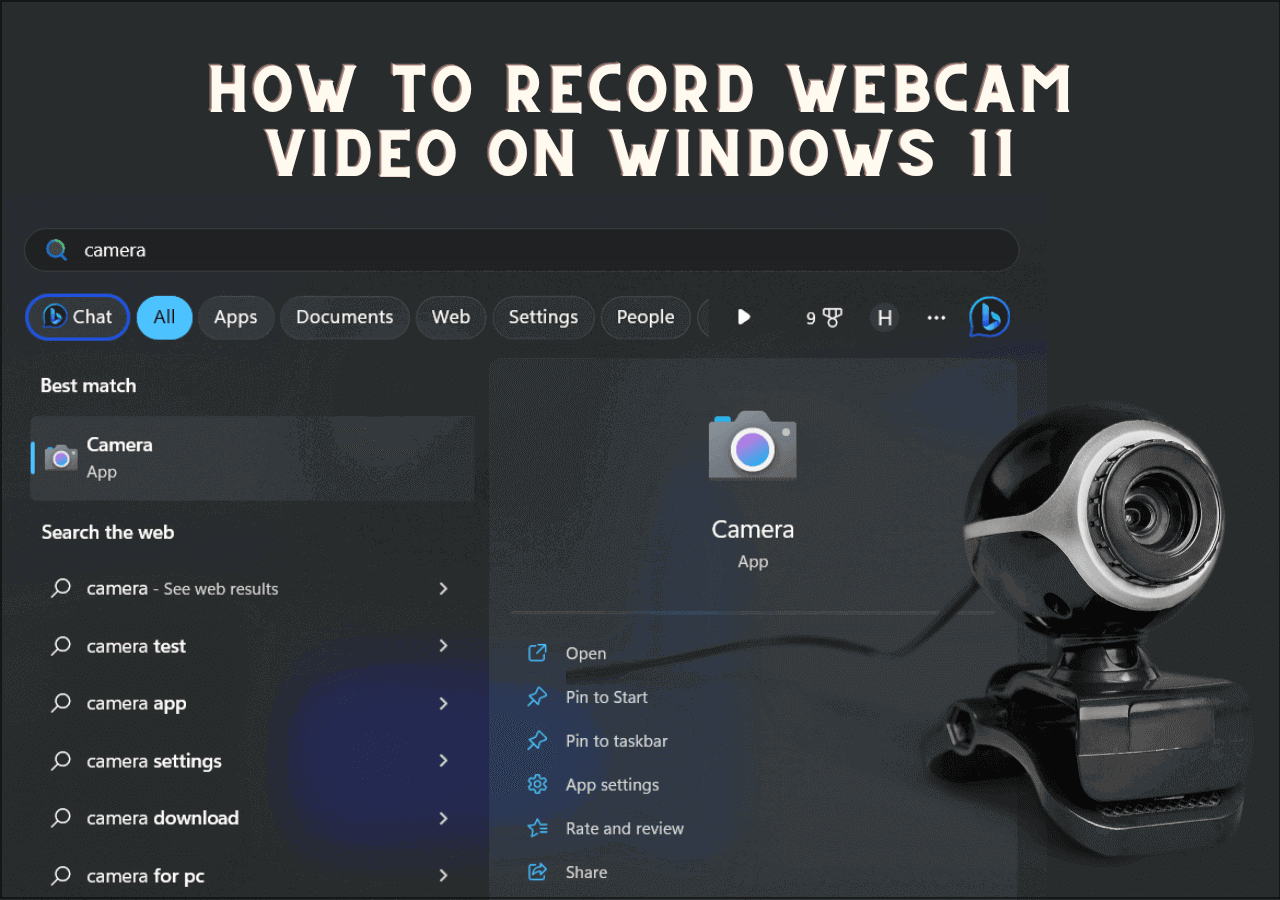
- Step 2: Open Camera Settings - Click on the Start button and select Settings, then click on Camaras from the menu.
- Step 3: View Connected Cameras - In the Camaras section, click on Connected cameras to view all the cameras detected by your system.
- Step 4: Control App Access - Click on the app you want to control camera access for, and toggle the switch to allow or deny access to your camera.
- Step 5: Manage Camera Permissions - Manage camera permissions for each app by clicking on Camera permissions and selecting the apps you want to grant camera access to.
- Step 6: Adjust Camera Settings - Adjust camera settings such as brightness, contrast, HDR, and other controls to enhance video quality.
- Step 7: Test Your Camera - Test your camera by opening an app that uses the camera, such as Zoom, Teams, or Skype.
Tips and Tricks for Setting Up Your Webcam on Windows 11 Desktop
Here are some additional tips and tricks to help you set up your webcam on Windows 11 desktop:
- Allow Apps to Access Your Camera: Ensure that you allow apps to access your camera by toggling the switch in the Camaras section.
- Manage Camera Permissions: Manage camera permissions for each app by clicking on Camera permissions and selecting the apps you want to grant camera access to.
- Adjust Camera Settings: Adjust camera settings such as brightness, contrast, HDR, and other controls to enhance video quality.
- Test Your Camera: Test your camera by opening an app that uses the camera, such as Zoom, Teams, or Skype.
Conclusion
Setting up your webcam on Windows 11 desktop is a straightforward process that requires a few easy steps. By following the steps outlined in this article, you can ensure that you're always ready for your next virtual connection. Remember to allow apps to access your camera, manage camera permissions, adjust camera settings, and test your camera to ensure seamless access for all your video calls and apps.


:max_bytes(150000):strip_icc()/logitech-webcam-software-5c89299dc9e77c000142300d.jpg "How to Set Up Webcam on Windows 11 PC - YouTube")


![Enable the Camera on Windows 11 [2 Easy Ways]](https://m.media-amazon.com/images/I/51-DPgj2UYL._AC_.jpg "Enable the Camera on Windows 11 [2 Easy Ways]")


